

Check our plant harvest times for the freshest, most flavorful results.
If you purchased a Counterstand at Costco
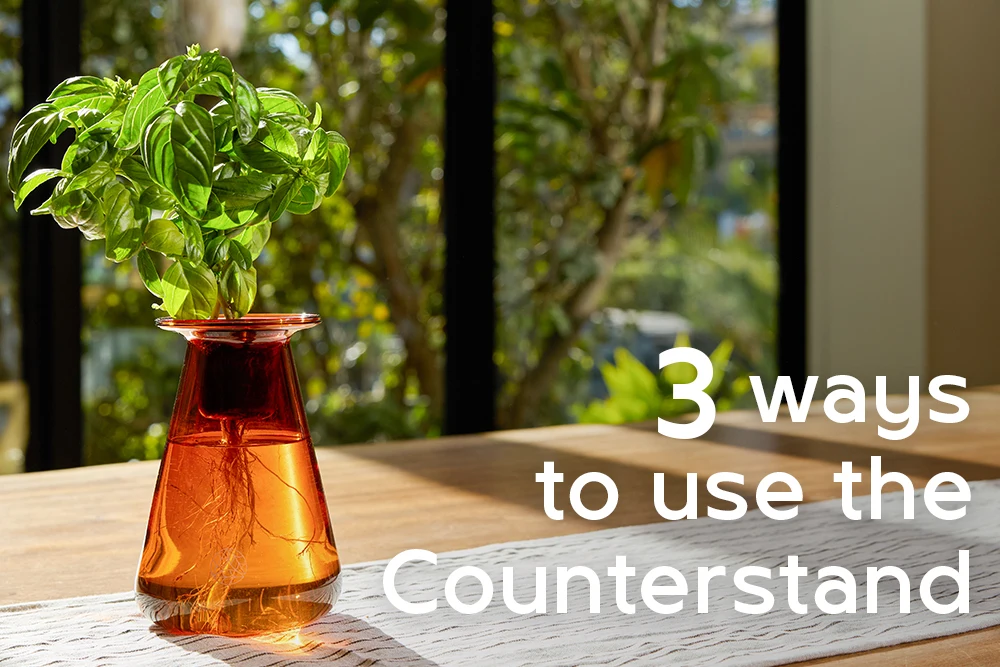
1. Get started: If you purchased a Counterstand in-store, it comes pre-assembled with water and nutrients. No need to add anything until the water level is ~1 inch from the bottom.
2. Give it some light: Place the Counterstand in a well-lit area that receives 6+ hrs of full sun OR if using the Glow Lamp, set the timer to 16hrs on/ 8 off.
3. Harvest: Start harvesting after 2 weeks. Avoid removing more than ⅓ of the foliage unless harvesting the entire plant.
4. Refill as needed: Once the water is 1 inch from the bottom, add water to just below the "REFILL LINE" and mix in 2 half-full droppers of plant food.
5. Cleaning: The Counterstand is dishwasher safe or can be cleaned by hand. Rinse out the jar and refill with fresh water and plant food every 5–6 weeks.
If you’re planting a new seedling
1. Add water: Fill the Counterstand with purified water ½” below “FILL LINE”.
2. Add plant food: Add 4 half-full droppers of plant food and mix
3. Plant your seedling: Insert water wick into the cup along with the new seedling, so it is wedged between the seedling and the glass cup. Place the cup in the Counterstand making sure water does not exceed the “FILL LINE”. It’s ok if no water is touching the bottom of the cup.
4. Give it some light: Place the Counterstand in a well-lit area that receives 6+ hrs of unobstructed sun (ideally south-facing) OR if using the grow lamp, set the timer to 16hrs on (8hrs off).
5. Harvest: Begin harvesting after 2 weeks of growth. Avoid removing more than ⅓ of the foliage unless harvesting the entire plant.
6. Refill as needed: Once the water is 1 inch from the bottom, add water to just below the “REFILL LINE”. Add ~ 2 half-full droppers of plant food.
7. Cleaning: The Counterstand is dishwasher safe or can be cleaned by hand. Rinse out the jar and refill with fresh water and plant food every 5–6 weeks.
If you’re transplanting a Farmstand plant
1. Add purified water: Fill the Counterstand with purified water just below the refill line.
2. Add nutrients: Add 4 half-full droppers of plant food and mix
3. Transfer your plant: If moving a plant from a Farmstand, you can (A) place the grow cup directly into the Counterstand vase or (B) transfer the plant into the glass Counterstand cup–being careful not to tear the roots.
4. Check roots: If the roots do not reach the water, add water to 1 inch aboe the bottom point of the roots
5. Add nutrients: Begin harvesting after 2 weeks of growth. Avoid removing more than ⅓ of the foliage unless harvesting the entire plant.
6. Harvest as needed: Avoid removing more than ⅓ of the foliage unless harvesting the entire plant.
7. Refill as needed: Once the water level is less than ½ inch from the bottom, add water just below the “REFILL LINE.”
Need support?
Want a sneak peek of your entire growing journey? We’ve got you covered. This is going to be a breeze - after all, we’re in it together.
Help Center

Frequently asked questions
Don’t see your question below? Get in touch and we’ll help.


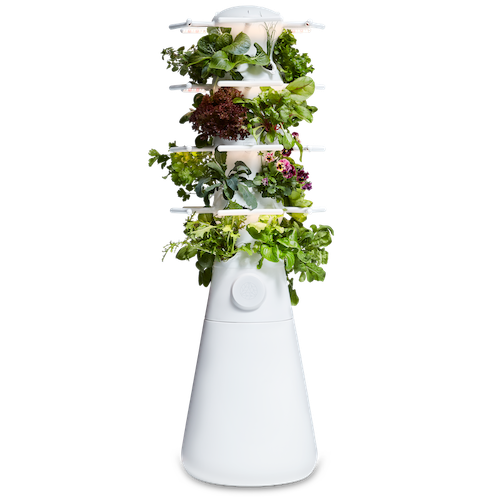
What's included
- Grow Cups
- Water pump
- Analog Timer
- Plant nutrients and scoops
- Ports ( 6 plants per level): 18 (S), 24 (M), and 36 (L)
- Requires 4 sq. ft. of level space
- Assembled footprint: 22" dia.
- Assembled height: 4'3" (S), 4'10" (M), and 6'1" (L)
- Weight (empty): 18 pounds
- Water tank capacity: 20 gallons
- Requires access to a GFCI power outlet
- Performs best with 6+ hours of full sun